You can change the settings for the appearance of WeStatiX and the calculation by clicking on Settings and choosing from the options available in the menu.
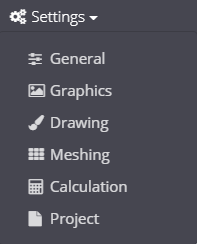
Each of them will open a dedicated dialog box.
General
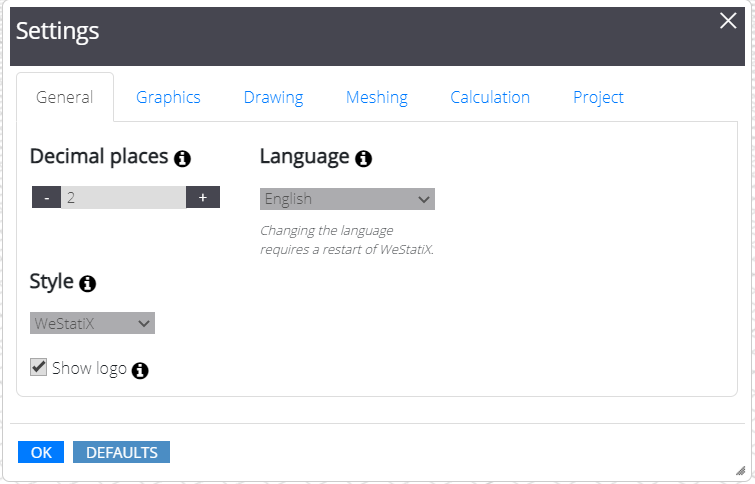
Here you can set your preferences for:
- Decimal places: change the precision used when displaying numbers;
- Language: choose the application language. Remember that you have to restart the application to change it;
- Style: change the general appearance style;
- Show logo: whether to show the logo on the bottom right of the application.
Graphics
Grid options
To display or hide the grid in the XY, XZ, YZ plane, simply select the corresponding checkbox in this window. Note that you can also assign an offset with respect to the origin of the reference system to move each grid independently.
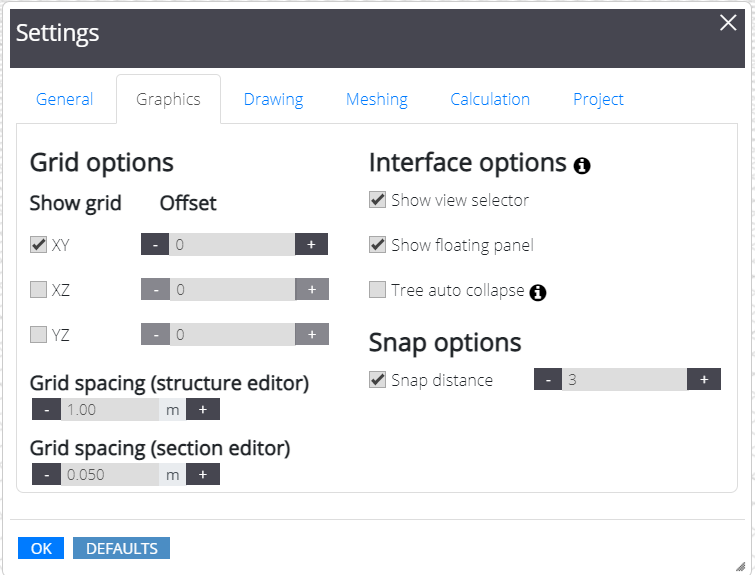
Interface options
By checking the following options, you decide whether to show the view selector or the floating panel.
- show view selector
- show floating panel
In addition, when you check the Tree auto collapse option, all the items in the tree except for the selected one will be automatically closed.
Snap options
The Snap options allow you to choose if snapping is supposed to be applied (observed through the green square surrounding the cursos), and to modify the Snapping distance regarding the nodes.
Grid spacing
You can also set a different spacing for the grid, both in the Structure editor and in the Section editor.
Drawing
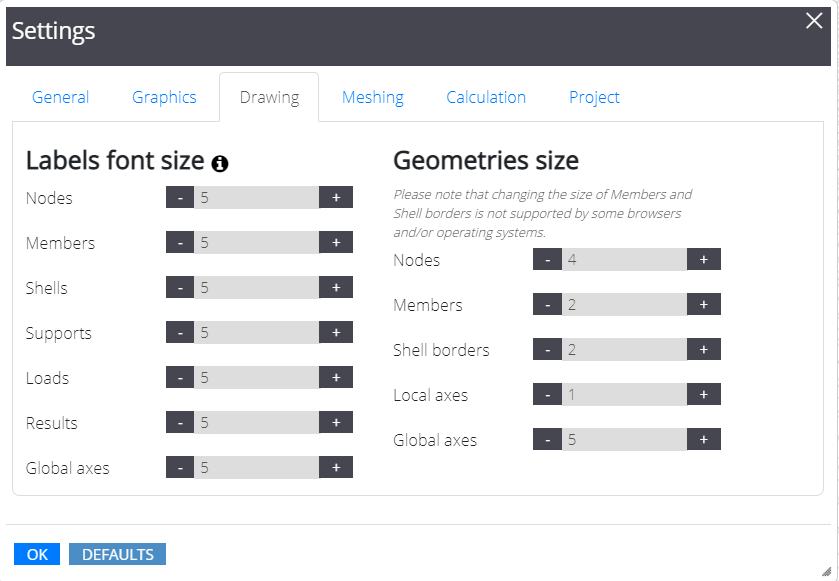
Labels font size
Here, you can modify the labels font size on Nodes, Members, Shells, Supports, Loads, Results and Global axes.
Geometries size
Using this feature, you can modify and adjust the geometrical size of the appearance of Nodes, Members, Shell borders, Local axes and Global axes, in favor of higher quality visualization.
Meshing
WeStatiX generates automatically the mesh for the calculation. In this tab you set either:
- the local length, as the maximum length of each mesh element
- the number of subdivisions for each member.
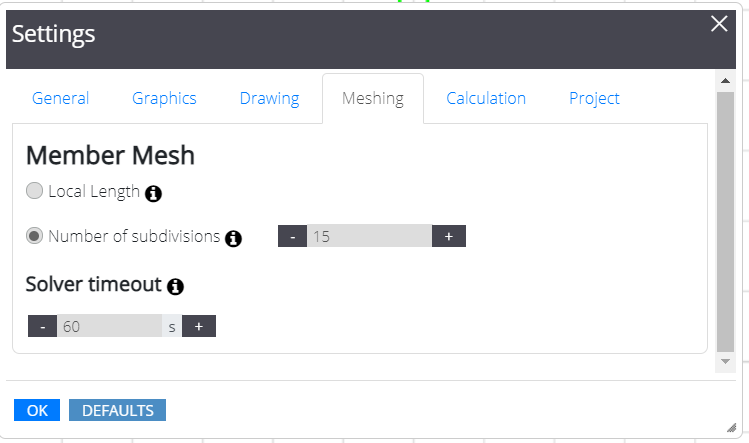
You can also modify the Solver timeout, that is the maximum time the solver is allowed to run.
Calculation
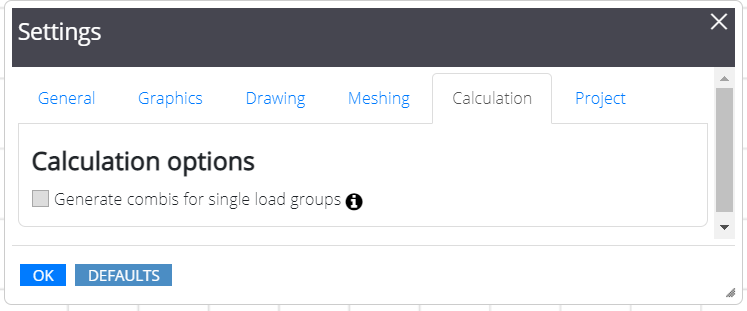
By default, when you set at least one load combination and you run an analysis, WeStatiX will show you the results for the load combinations, but not the ones for the single load groups.
If you want to see them too, you need to check the option Generate combis for single load groups in this tab.
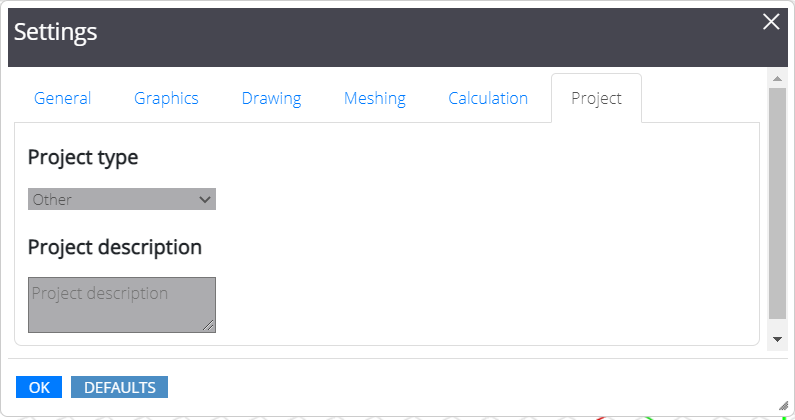
Project
In this window you can modify the project type and the project description. Note that these metadata are the same that you provide when you save your project with Save As.